You opened your store and added your products. The next step is to set up your store and payment settings.
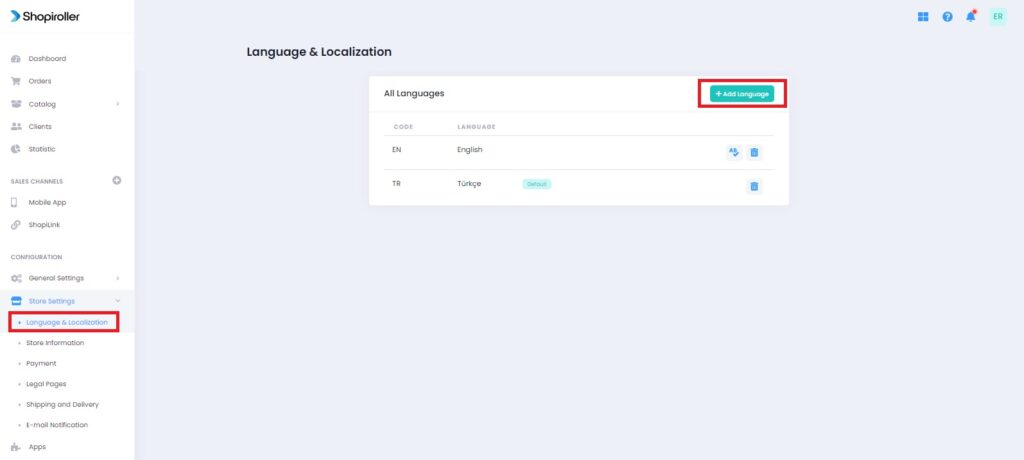
1) After logging into your store, click on Language and Localization under Store Settings on the left.
2) If you want to add another language to your application, click the Add Language button.
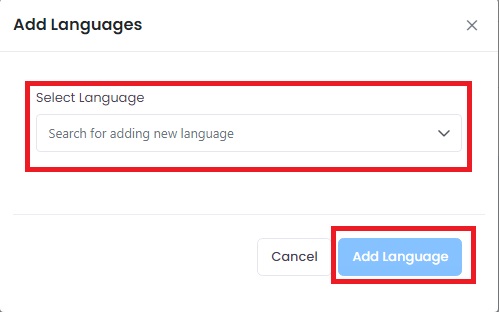
3) In the window that opens, select the language option you want to add to your application and click the Add Language button.
4) Click on Store Information from the menu on the left, enter your store’s information in the relevant fields, and click the Save button.
If you do not know how to fill in this field, the following document will help you.

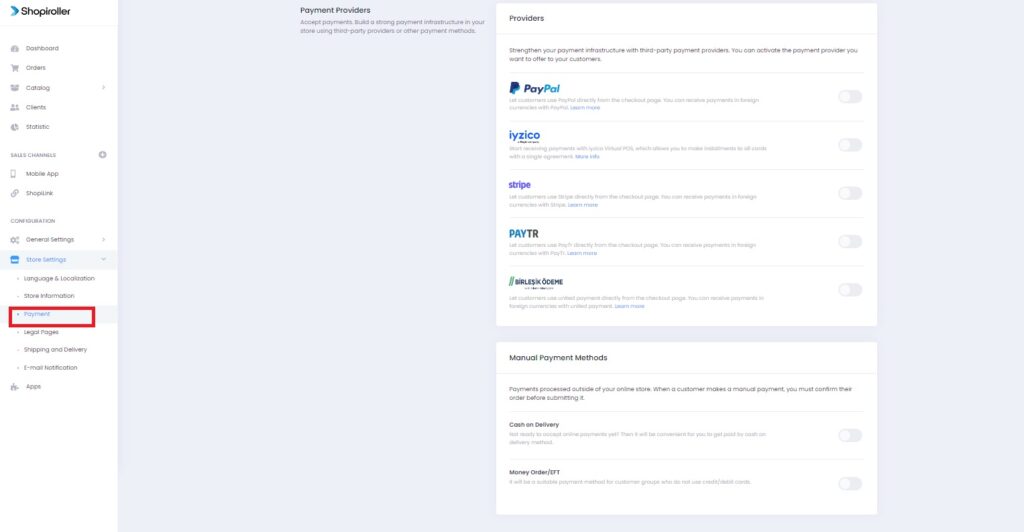
5) Click on the Payment section from the left menu to make your payment settings. Y can choose the payment methods you want to use in your store.
For the payment methods you want to activate, you must click on the button opposite their names, activate it, and configure it by entering the information you received from the relevant payment provider. You can find information on how to add payment methods from the link below.
Which Payment Methods Can I Use With Shopiroller?
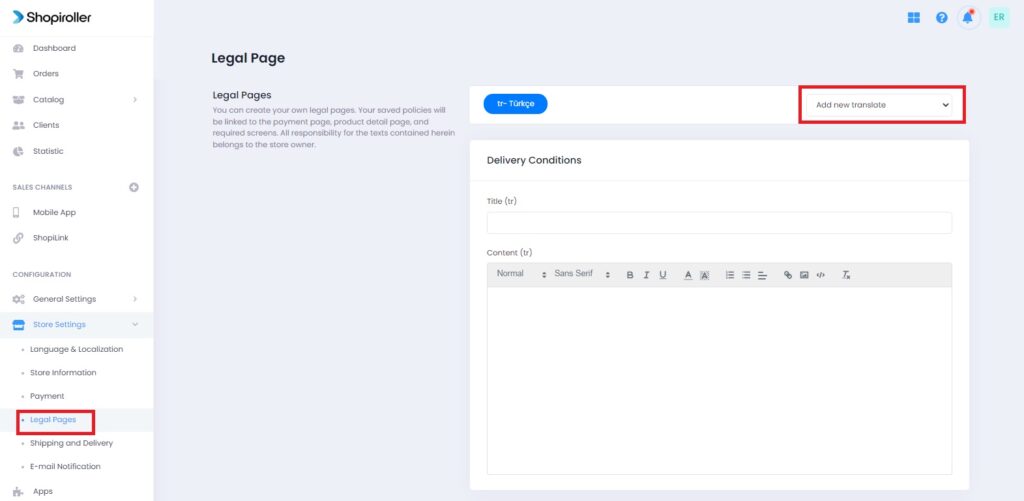
6) Click on Legal Pages and enter the legal information about your store in the relevant fields.
If you do not know how to fill in the legal information section or if you do not have your own contracts, you can get information from the link below.
If your application has more than one language, click the Add New Translation button. This way, you can enter legal information about the language you have added.
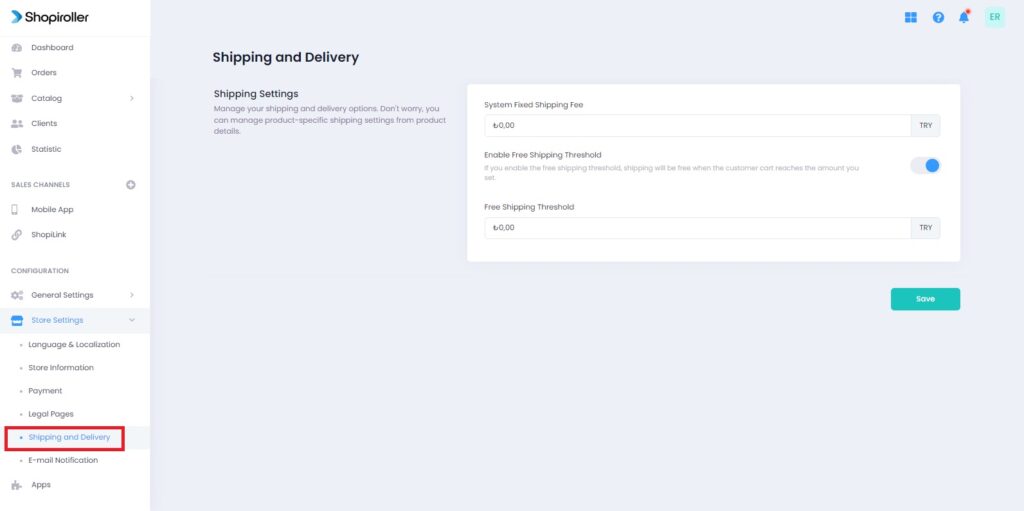
7) From the Shipping and Delivery section, select the Fixed Shipping Fee you want to use for your product orders and click the Save button.
If you do not know how to fill Shipping and Delivery field, the following document will help you.
https://support.shopiroller.com/en/knowledgebase/how-to-set-up-shipping-and-delivery/
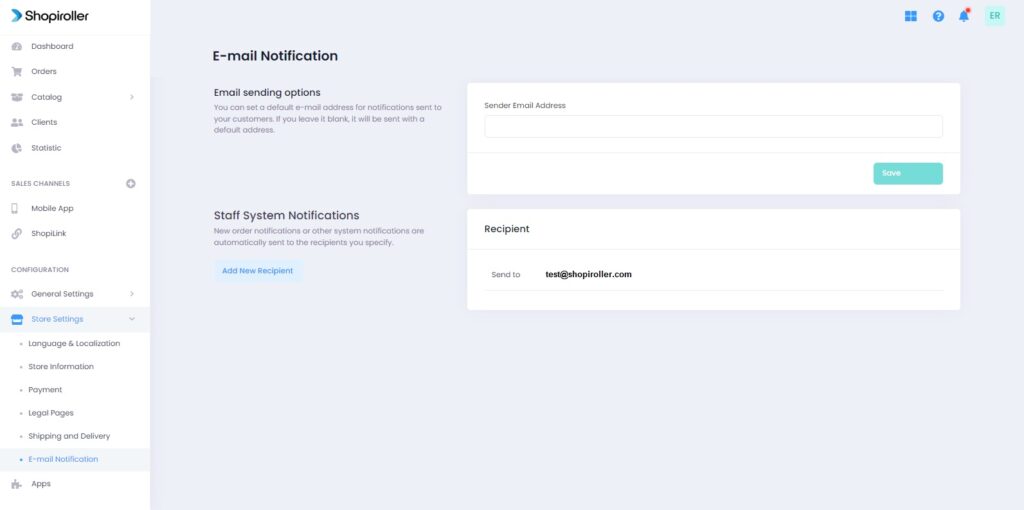
8) Click on E-Mail Notification from the menu on the left.
– In the E-mail Sending Options section, you can write from which e-mail address the notification e-mails sent to your customers will be sent.
– In the System Notifications section, you can write to which e-mail address you will receive the notification for any product order.
You can add a new e-mail address to receive notifications by clicking the Add New Recipient button.
You have completed the store and payment settings. If you have any problem in this step, you can send an email to [email protected]
Step 4 – How to sell products with sales channels?